There are times when you would like to have values entered into your reports but do not need those values stored along with your data. Commands can be added within your template to collect typed values at run-time. You can be asked for this information in two ways (type the value into the Print Preview screen or have a question pop up and wait for an answer), and both methods will be covered here.
Common Steps
These steps need to be followed for either method. After completing these steps, proceed to the correct section for instructions for the method you are choosing to use.
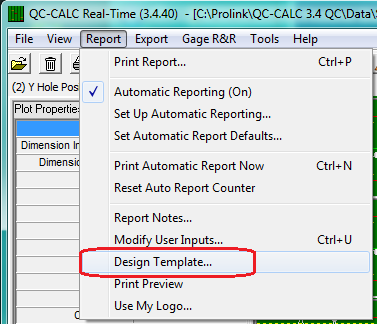
1. From QC-CALC Real-Time choose the Report – Design Template menu.
- Choose the DataStat.raw template from the list of files that appears and click Open.
- The Report Designer now appears on the screen.
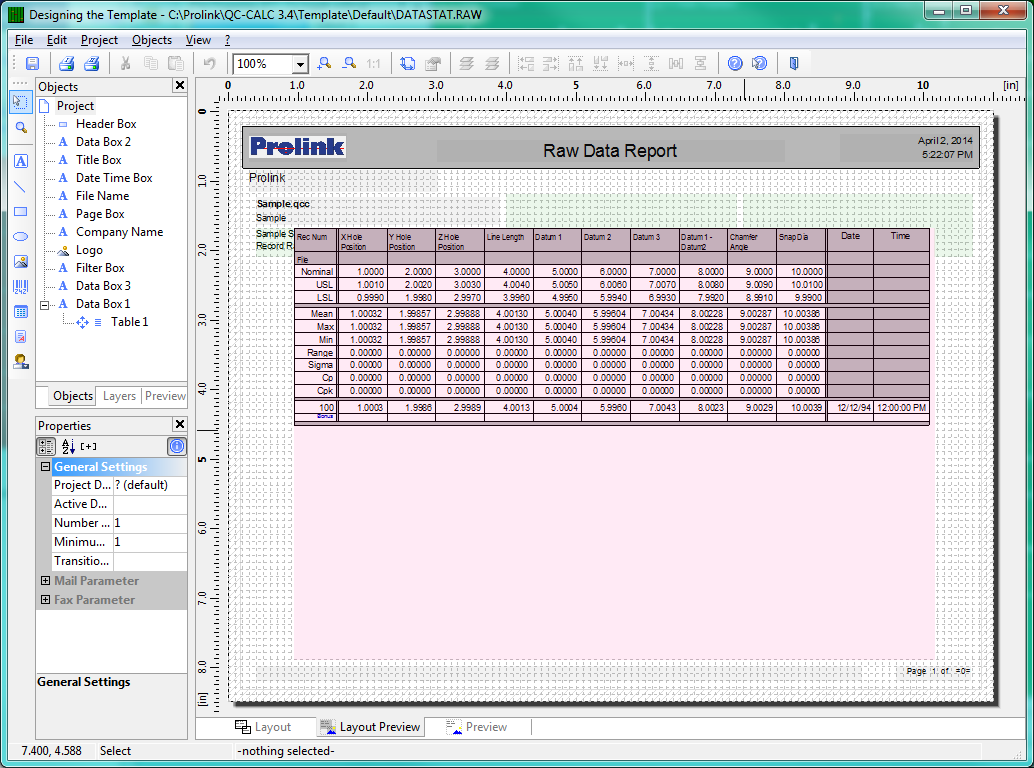
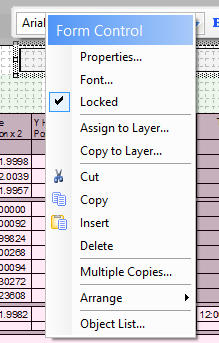
- Choose Objects – Insert – Form Control for the Fill in the Blank Method on page 2 or Objects – Insert – Text for the Ask Method on page 5 from the Report Designer.
- The cursor will now change to a target which you will use to draw a rectangle object below the gray title bar in the upper right corner of the screen.
- If you are using the Ask Method and inserted a Text object, please continue to the Ask Method section, then return to this area to finish the remaining general steps.
- The next step is to make the box so that it only appears on the first page of the report. To do this right click on the object and choose Assign to Layer.
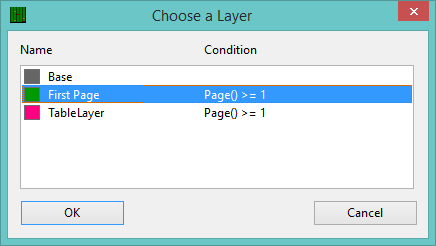
- In the Choose a Layer box, choose the First Page layer and click OK. You will notice that the rectangle that you previously drew is now green.
Fill in the Blank Method
The directions shown here will customize the Form Control object added in the previous steps in the Raw Data template. This object shows a box on the report where the operator can fill in the Customer Name. The drawback to this method is that using either Print Preview or Print To - File (PDF only) is required. If you print directly to the printer the operator will never see the box in order to fill in the value.
- Now that you have inserted the Form Control object and assigned it to the correct layer, these are the instructions for making any changes to that specific item.
- The Properties area in the lower left corner of the screen (View – Windows – Property Window will turn on this area if you do not see this it) is used to control how the text the operator types in on the report will look. The directions here will make the text the operator types in be right justified, 12 pt, and red in color.
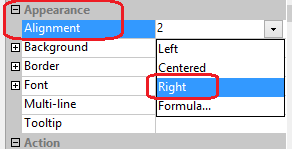
- In the Appearance section of the Properties area choose “Right” for the Alignment option to make the text displayed as right justified.
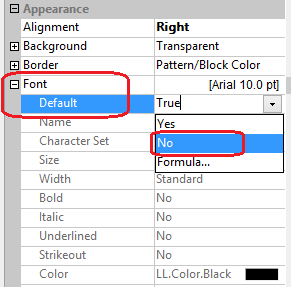
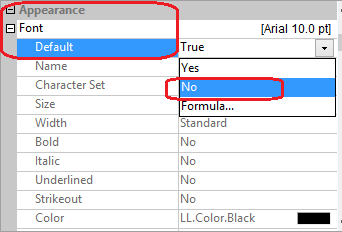
- In the Appearance – Font section first click the + sign to the left of the Font property to see all the options within the Font area.
- Set the Default value to “No” which will enable you to edit different properties of the font to display.
- Now choose Size and choose “12 pt” in the list that appears by hitting the down arrow button.
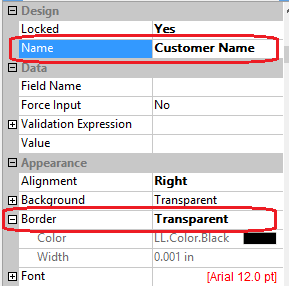
- In the Design area type “Customer Name” for the Name item.
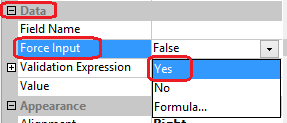
- In order to make your users enter a value you “Transparent”. the Name item. This will make any messages that are shown to the operator clearer. You also need to change the Force Input option in the Data area to “Yes”.
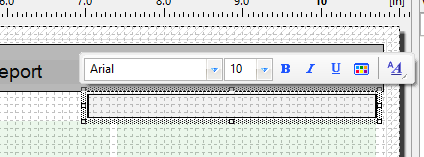
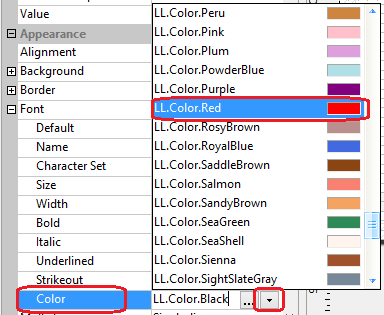
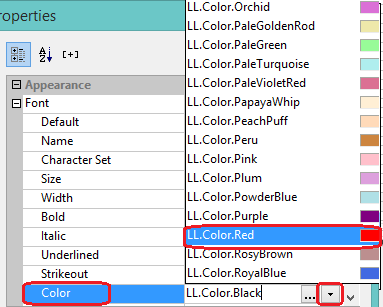
- The last step for the font is to change the font color to red. To do this click the down arrow button and choose the “LL.Color.Red” item in the list as shown in the picture above on the right.
- By default the box will appear with a frame around it. To remove this frame, click on the Appearance – Border item and set it to your specific application too.
- Now choose File – Save and File – Exit.
- You will be asked if you changed the number of dimensions in the report, click No.
- Now use the Report – Print Report menu and choose the template you just changed along with the Printer and Print Preview option before clicking the Print button.
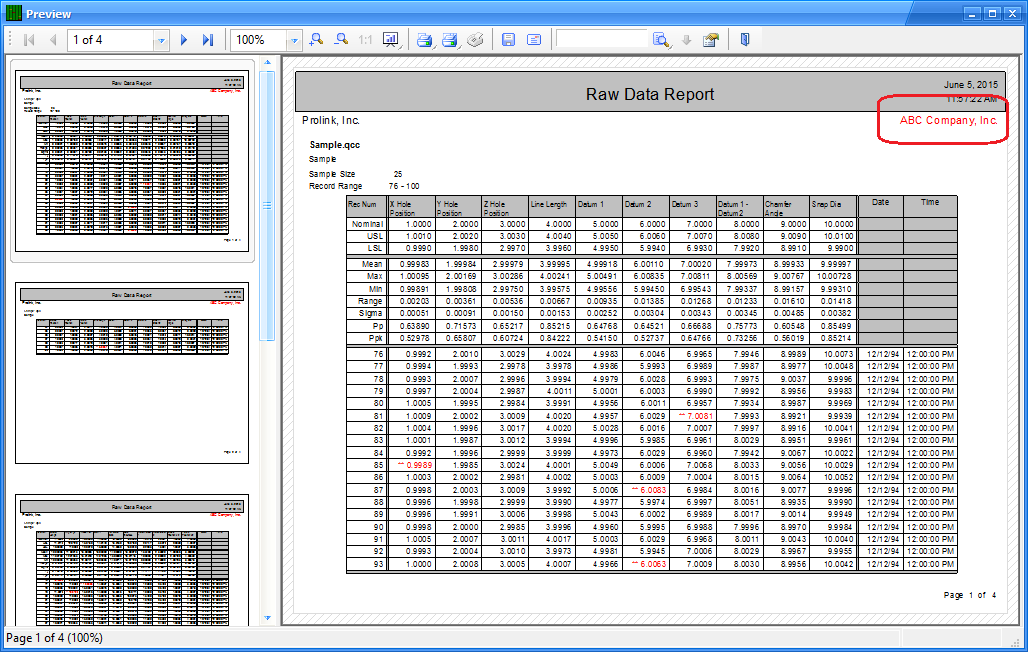
- The Print Preview will appear next. In the upper right corner there is a red box which is the box for the operator to type the Customer Name value into.
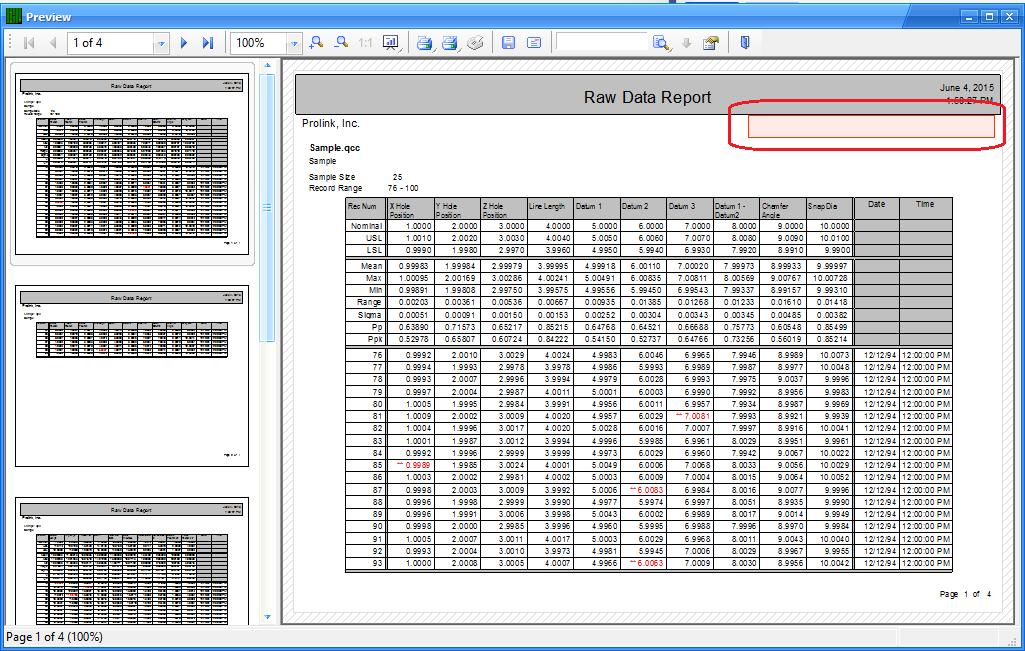
- Type the Customer Name into the box and print out your results. The blue line displayed around that area is not printed. It is shown so that the text areas are still visible after values have been entered.
- If you print directly to a PDF file and choose the Open in Default Application option you will see a blue rectangle where the Customer Name can be entered. The red font does not appear to be saved, but you are able to enter the value. If you want to have your report in .pdf format AND the red font you will need to choose Print Preview, then from the Print Preview screen use the Save As button. Follow the steps there and the .pdf will be created with the Customer Name included in red.
Ask Method
The directions shown here will modify the Text object inserted using the Objects – Insert – Text step in the Common area to use an AskString$ command. This AskString$ command will pop a question when the report runs and ask the operator to enter the Customer Name for this report. This method will ask for the value if the report is being printed directly to the printer, to Print Preview, or to a file.
- After drawing the Text object the Edit Text window will automatically be displayed for you.
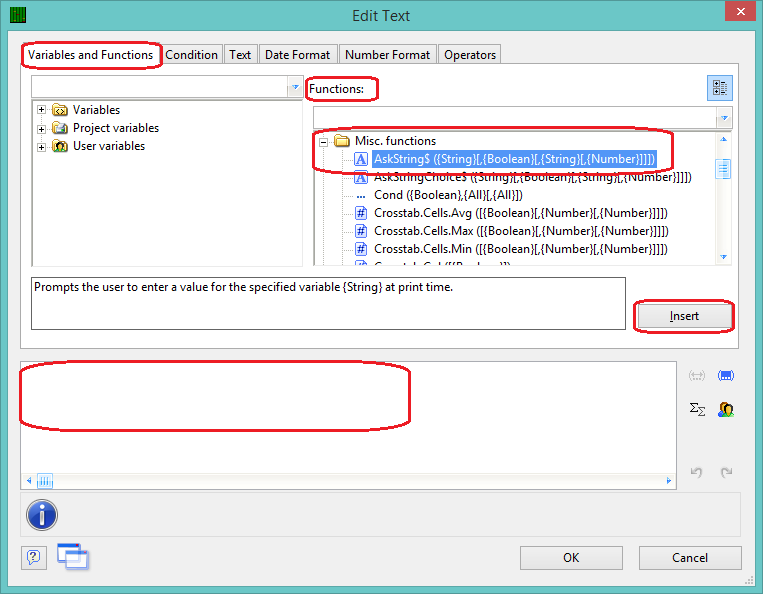
- On the Variables and Functions tab, choose “AskString$(…” from the Misc. functions list in the Functions area on the right, and click the Insert button.
- This will insert the
AskString$ function into the blank area at the bottom of the screen.

- Once the function has been inserted the cursor will be on the AskString$ line and it will be waiting for you to enter the prompt to display to the user at run time. “Enter the Customer Name” was entered in the example above.
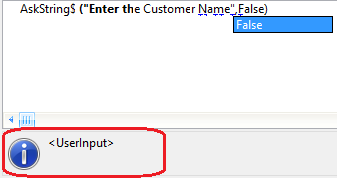
- Once the cursor has been moved to the location after the next comma, you will be prompted for the next parameter. Enter False as the next parameter so the Customer Name entered for the first page of the report will be used for all pages.
The remaining parameters of the AskString$ function will not be used which means the remaining commas need to be deleted from the line. When you have finished the line should read:
AskString$(“Enter the Customer Name”,False)
Now the syntax error at the bottom of the screen should be gone.
- Click OK to finish in the Edit Text window.
- That finishes the mechanism that will ask the question, now we need to control how the answer will be displayed in the report. The directions here will make the text the operator types in be right justified, 12 pt, and red in color.
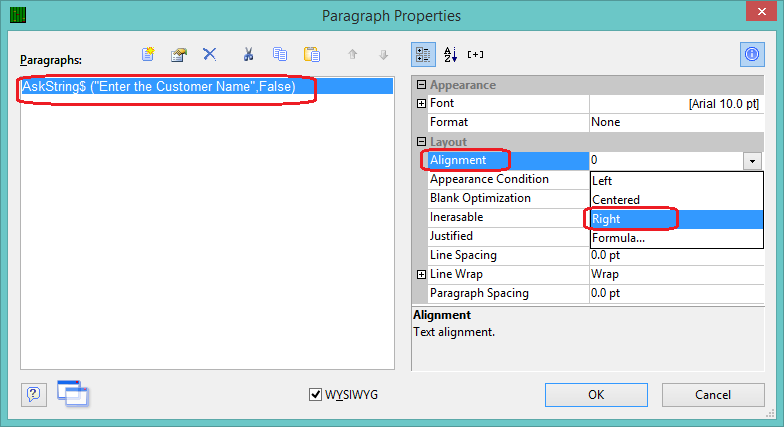
- Double-click on the gray box you drew in the upper right corner (it should now show “<UserInput>” inside the box. This will bring up the Paragraph Properties screen.
- With the “AskString$” line highlighted on the left side of the Paragraph Properties window, choose “Right” in the Layout – Alignment area to make the text display as right justified.
- In the Appearance – Font section first click the + sign to the left of the Font property to see all the options within the Font area.
- Set the Default value to “No” which will enable you to edit different properties of the font to display.
- Now choose Size and choose “12 pt” in the list that appears by hitting the down arrow button.
- The last step for the font is to change the Font –Color to red. To do this click the down arrow button and choose the “LL.Color.Red” item in the list.
- Click OK in the Paragraph Properties window.
- Now choose File – Save and File – Exit.
- You will be asked if you changed the number of dimensions in the report, click No.
- Now use the Report – Print Report menu and choose the template you just changed along with the Printer and Print Preview option before clicking the Print button.
- The Print Preview will appear next. In the upper right corner there is a red box which is the box for the operator to type the Customer Name value into.
- You will now be prompted to enter the Customer Name.
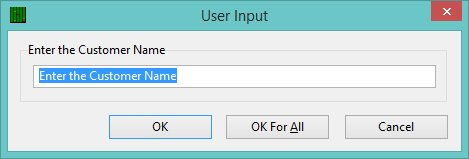
- Replace the text in the User Input box with the customer name.
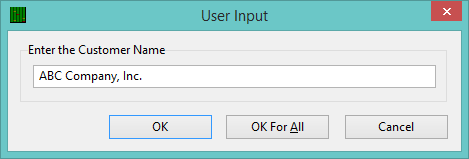
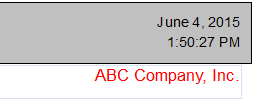
- Once you have typed in the answer, click the OK button and “ABC Company, Inc.” will be shown on the report. Here is an example shown in the Print Preview window.