QC-CALC can export inspection results from its database to Q-DAS formatted files. The raw inspection results are saved in .DFX files while the nominals & tolerances and extra trace data (non-measurement data) are stored in .DFD files. These two files make up the Q-DAS inspection results file that is read into the qs-STAT program. This white paper discusses the method of exporting QC-CALC data in Q-DAS format.
General Q-DAS Information
Q-DAS K-Field Definitions
The K-Field numbers vary from K0000 to K9999. Many are not needed but QCCALC allows you to enter whatever value you need. Per the Q-DAS definitions, the K-Field information is falls into the following groups:
K0000 K0999 description of value formats K1000 K1999 parts data K2000 K2999 characteristics data K3000 K3999 test plan data K4000 K4999 administrative data K6000 K7999 reserved K8000 K8999 QCC K9000 K9999 other data K10000 K32000 reserved
DFX File Contents
The Value File (DFX) contains the raw inspection results for each individual part. K-Field numbers from K0001 – K0999 are also written to the .DFX file (individual parts) and therefore they are written after every separate data record.
This file may contain one or more records (parts) and each record is an entire part. If QC-CALC exports 3 parts of 5 features, you will find 3 records in the file with 5 dimensions within each record. After the raw inspection results for each part the extra K-Fields follow. Remember, any low numbered K-Fields (K0001K0999) are added to this file. This allows you to tag each part by operator, etc.
Example DFX File
1.00046 0 01.07.2004/11:23:50 2.00169 0 01.07.2004/11:23:50 2.997805 0 01.07.2004/11:23:50 4.000095 0 01.07.2004/11:23:50 4.997437 0 01.07.2004/11:23:50 K0008 12345 K0006 LargeBatch 1.000132 0 01.07.2004/11:23:50 1.998578 0 01.07.2004/11:23:50 2.997503 0 01.07.2004/11:23:50 3.995746 0 01.07.2004/11:23:50 4.997135 0 01.07.2004/11:23:50 K0008 11112 K0006 Batch 22 1.000322 0 01.07.2004/11:23:50 1.998565 0 01.07.2004/11:23:50 2.998876 0 01.07.2004/11:23:50 4.001297 0 01.07.2004/11:23:50 5.000396 0 01.07.2004/11:23:50 K0008 12345 K0006 Batch 23
DFD File Contents
The Description File (DFD) includes values that are in common with all parts and the features. These include nominals, tolerances, part number, sample size, etc. K-Field numbers greater than K0999 are all written to the .DFD file (across all parts in the file). e.g.
Example DFD File
K0100 20 K1001 Sample K1002 Sample K2404/0 0.1 K2060/0 0 K2002/1 X Hole Position K2022/1 4 K2101/1 1 K2110/1 0.999 K2111/1 1.001 K2112/1 -0.001 K2113/1 0.001 ...
The Catalog File
The Catalog File is generated by the Q-DAS software and is used to standardize certain K-Fields values. It has many of the properties of a relational database, and allows you to see and use text, while an index value is stored by the software behind the scenes. It allows you to pick a value out of a list which avoids errors and limits choices to only valid values.
The Export Screen
From QC-CALC Real-Time, choose Export – Export Data and the following screen is displayed. Choosing an Export Type of Q-DAS Format ASCII File enables the Configure button, which is only enabled for certain export types.
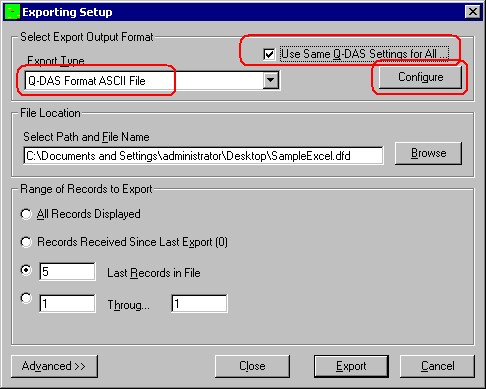
Clicking the Configure button displays the following screen where you setup the details of the Q-DAS output.

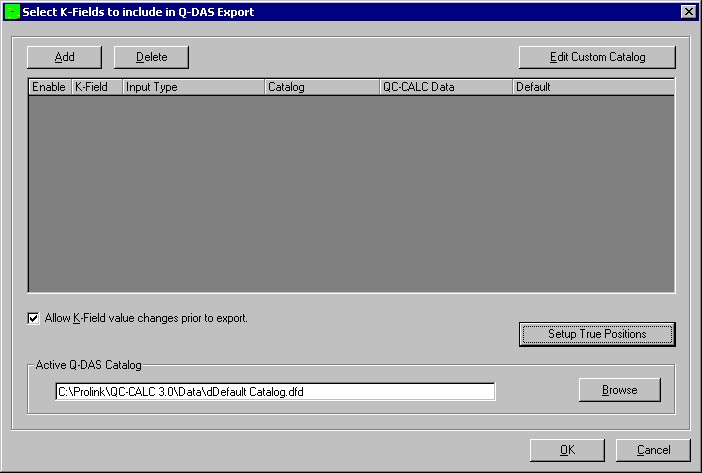
Q-DAS K-Field Setup Screen
Once you press the Configure button on the Exporting screen, the setup screen is displayed where you add the data you want QC-CALC to send to your Q-DAS files. You can add as many additional K-Fields as needed. You can enter a default value for each K-Field which is used if no other value overwrites it. Using default values improves the speed and accuracy when the value does not change.
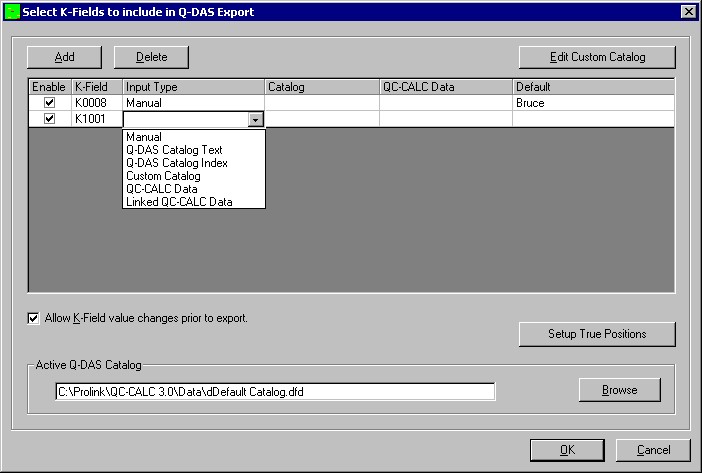
How to Add a New K-Field
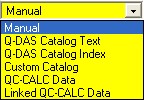
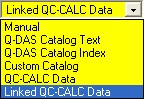
Click the Add button to insert a new row and enter a valid Kxxxx number in the first column. Next, select the source of the data by choosing the Input Type from the list as shown below. There are 6-Input Types and each type requires additional information in the columns that follow. The next page describes what you must enter to complete each Input type. The Delete button is used to remove the row you are editing.
One thing to note is the location the values are exported to depends on which file the specified K-Field number is mapped to. If the K-Field number is to be written to the .DFX file, each record contains an individual value. If the K-Field number is to be written to the .DFD file, the value from the final record exported is written to the Q-DAS file.
Completing the Row
Input Type | Description |
Manual
 |
This is the simplest Kxxxx to enter. You simply type the Kxxxx number, choose Manual in the Input Type column, and enter a value in the Default column. A Default value is optional for ALL Input Types but if you do not enter a default value in this Input Type, nothing will be exported for this K-Field. |
Q-DAS Catalog Text
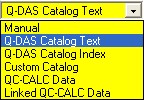 | Enter the Kxxxx number to assign a value and then select the value from your Q-DAS catalog. When you choose Q-DAS Catalog Text, a list becomes available in the Catalog column. Select the catalog and then choose the value from that catalog in the Default column. The text you see in the Default column is sent to your Q-DAS file for that K-Field.
|
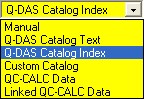 Q-DAS Catalog Index Q-DAS Catalog Index
| When you choose Q-DAS Catalog Index, a list becomes available in the Catalog column showing all of the catalogs in your Default Catalog.dfd file. Choose one of your Catalogs and a list of all of the values of that catalog appears in the Default column. After you make your choice from the list in the Default column, QC-CALC looks up the index of that value from your Catalog File and this index number is sent to your Q-DAS file at export time.
|
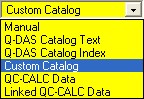 Custom Catalog Custom Catalog
| Enter a Kxxxx number and select Custom Catalog from the Input Type column. A list becomes available in the Catalog column showing the catalogs you created using the Edit Custom Catalogs button. Choose one of your Custom Catalogs and a list of values appears in the Default column. The text that you see in the Default column is sent to your QDAS file.
|
QC-CALC Data
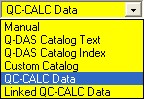 | When you choose QC-CALC Data for your Input Type a list of available QC-CALC choices becomes available to select and assign to this K-Field. Currently, the QC-CALC choices are the Part Name, Part Description, Inspection Date/Time, and any Factors in the database.
|
 Linked QC-CALC Data Linked QC-CALC Data
| The Linked QC-CALC Data Input Type is very similar to QCCALC Data but you must choose a Q-DAS Catalog. The text that is extracted from the QC-CALC database is used as a look-up in the Q-DAS Catalog. The index value associated with the text is sent to the Q-DAS file instead of the text. e.g. if the Employee catalog is selected and John is the name found in QC-CALC database, the index number in found the catalog for the entry “John” is sent to the Q-DAS, not the text “John.”
|
Custom Catalog Editor
The purpose of the Custom Catalog is to provide your own list of standard answers to be sent to the Q-DAS file with its associated K-Field. Click the Edit Custom Catalog button to display the screen below and create your own catalogs. This way you can choose your own output value from a list rather than typing it manually. These catalogs act the same as the Q-DAS catalogs and are used the same way.
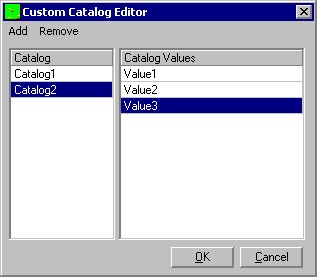 To add new catalogs with their associated values, click the Add – Catalog menu. Change the name of the Catalog by double clicking on the name in the left-hand box and edit the name of a value for this catalog. Next, click the Add – Value menu several times to add values into this catalog. Do the same for all values in the righthand side of each catalog. Add as many Catalogs and Values as you like.
Allow K-Field Value Changes Prior To Export.
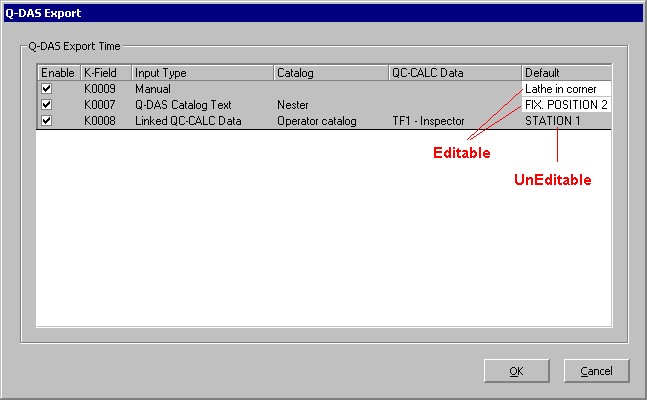
The Allow K-Field Value Changes Prior To Export checkbox on the Selection screen is used to display the K-Field values just before QC-CALC exports the data to your Q-DAS file. Some of the values are editable and some are not. The only Input Types that are not editable are QC-CALC Data and Linked QC-CALC Data. This is because the values are taken from the database and it is assumed these values are correct. However, it does make sense to allow a last minute edit in some cases. Editable values are shown with a white background instead of gray. Once you are satisfied with your values, click the OK button and the export occurs along with your changed default values.
Use same Q-DAS settings for all parts
This checkbox is used to save all of your choices to one common place to be used across all QC-CALC databases. If you have consistent part programs that use the same factor values for the same items, this is the fastest method to use. You setup all of your K-Fields once and all new databases are setup the same.
If you want each QC-CALC database to have different Q-DAS export settings, uncheck this checkbox. Remember to Configure each database before exporting data in the Q-DAS format to ensure you have complete data sets.
Active Q-DAS Catalog
QC-CALC is shipped with a sample catalog file called Default Catalog.dfd. This file has some sample entries but you should select and use your company’s catalog to ensure each entry makes sense. Your Q-DAS coordinator will know where and how to obtain this file. When possible, you should use a shared network file so each copy of QC-CALC uses the exact same file. The Browse button allows you to select or change the location of the desired Catalog file. This includes using your network to share a common catalog across all QC-CALCs.