Prerequisites
The free GD&T font from Verisurf must be installed on your computer.
This can be done by downloading the font (via the link to the right) to a location on your local hard drive. Once downloaded, right click on the file and choose Install. This will install it in Windows as a general font for all programs to use. You may need to be administrator on your PC depending on your IT Department's security policies.
Introduction
It is fairly common to want to add GD&T symbols to your Excel reports and populate them via Excel Jobs in the Office Buddy. Fortunately, it is very easy to do this with a free font from Verisurf. The only trick is to change the font via macro after the replacements have occurred. This is because the tags in your Excel Job are normally surrounded by square brackets (i.e. [nominal]). In this case, the left bracket "[" represents the symbol for flatness and the right bracket "]" represents the +/- symbol. As such, if you set the font for the cells that will hold your GD&T symbols before you run the Excel Job, then the replacements won't happen from the Buddy.
Steps
- In QC-CALC RT, choose Edit > Nominals and Tolerances.
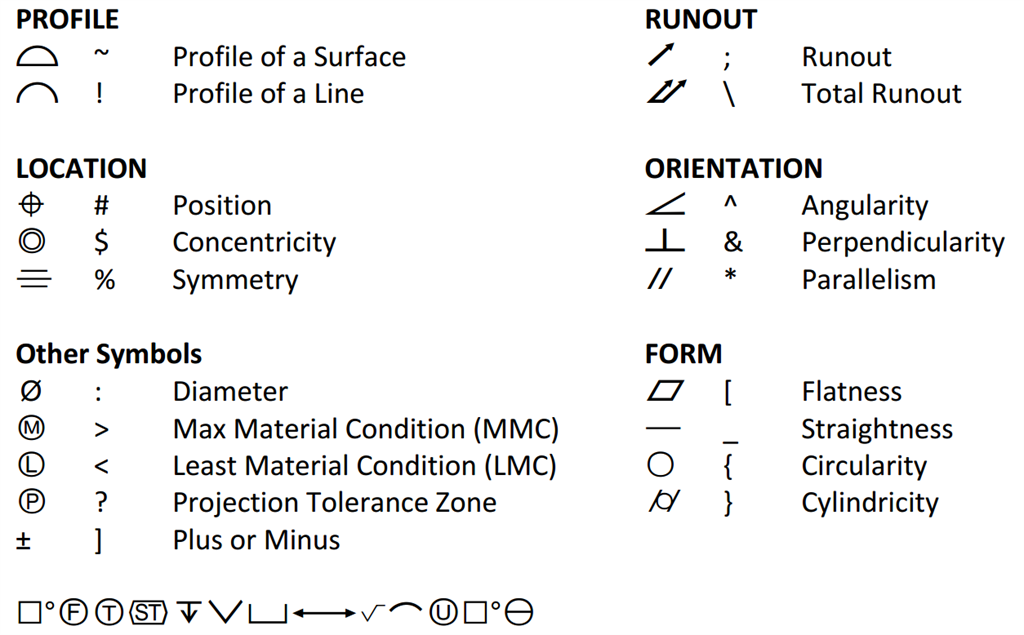
- Choose dimensions/characteristics in the list at left and type the desired GD&T characters into the Extra Information field using your keyboard. Use the translation chart below to determine which characters represent which symbols. Select OK when finished.
Example: |#|:0.15}|A|C
Becomes: 
- In your Excel template spreadsheet, create the macro to switch the font.
- Add a list tag for your Extra Info fields. Typically a tag such as [all_info] will work.
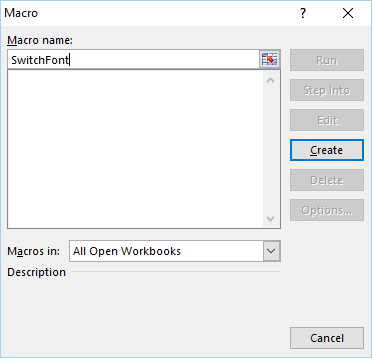
- Create a new macro via View > Macros > View Macros.
- Type the name "SwitchFont" in the Macro name field and click Create.
- Add the following code snippet into the macro between the Sub and End Sub lines:
Range("A2:G2").Font.Name = "Verisurf"
Notice the Range command. This is referring to a range of cells on your worksheet that will be switched to the Verisurf font when the macro is run. Update this value with the start and end cell of the range will contain the Extra Info values. The format is always the start and end address separated by colon (i.e. B6:C5). If you need to switch the font for multiple ranges, simply copy/paste the line just below and add a different cell range.
- Make sure to save your Excel Workbook as a macro-enabled workbook with a .xlsm extension.
- In the Excel Job wizard, choose the .xlsm workbook as your template.
- When you are in the replacements screen of the wizard, check the Advanced checkbox in the upper right corner, and select Next.
- On the Advanced screen, type "SwitchFont" into the Run Macro After field.
When you run your Excel Job, the [all_info] tag will first be replaced by the GD&T characters #,}, etc. that you entered into the Extra Info fields for your dimensions/characteristics. Once the replacements are finished, the macro will run and switch the ASCII characters into the correct GD&T symbols from the Verisurf font.
More Information
The following are the symbols and the keyboard characters that should be used in the Extra Info field.