This article gives step-by-step directions for creating the necessary filters and data group to create a Report Job that will run every 12 hours and display all part files containing data collected within those last 12 hours.
Creating a Record Filter
The first step in this process is creating a Record Filter that will be used to determine which characteristics contain data that was processed in the last 12 hours.
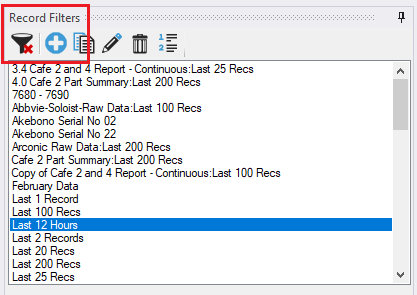
- On the Data View tab click the blue + in the Record Filters panel.
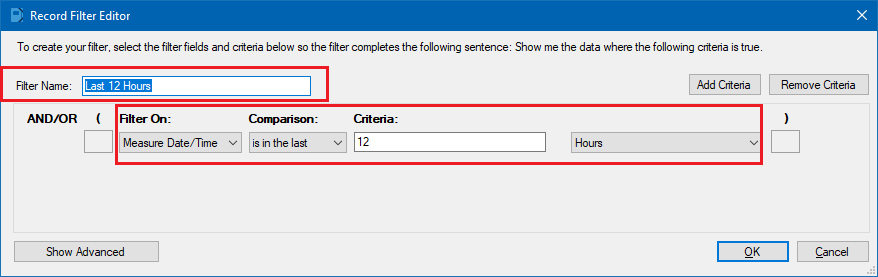
2. Enter the Filter Name at the top of the screen (I used “Last 12 Hours”).
3. In the Filter On list choose “Measure Date/Time”.
4. In the Comparison column choose “is in the last”.
5. Enter “12” in the Criteria column.
6. Choose “Hours” in the last column.
7. Click OK to create this filter.
- You can test this filter by opening a part file that you know contains data collected in the last 12 hours and clicking on that record filter in the panel. The data shown in the grid on the right should all be within the last 12 hours.
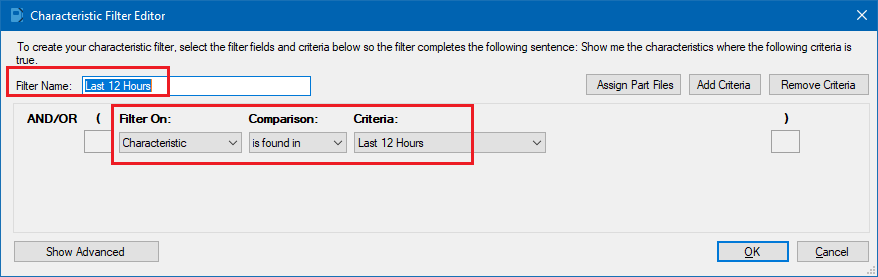
Creating a Characteristic Filter
- Use the Characteristic Filters tab (next to the Part Files tab) at the top of the Data View area and click the blue + button to create a new characteristic filter.
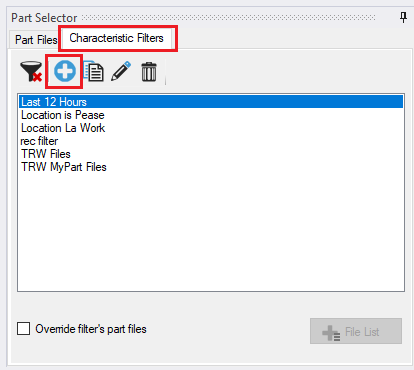
2. Enter the Filter Name at the top of the screen (I used “Last 12 Hours”).
3. In the Filter On list choose “Characteristic” at the very bottom of the list.
4. In the Comparison column choose “is found in”.
5. Choose the “Last 12 Hours” record filter you just created in the Criteria column.
6. Click OK to create this filter.
Creating a Data Group
Now that all of the filters you will need have been created, you need to create a Data Group using those filters.
- Use the Tools > Data Group menu to show the Data Group Manager screen.
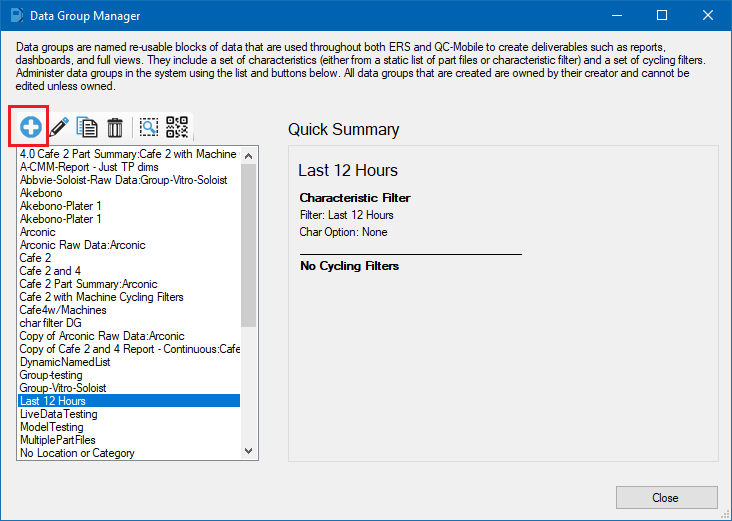
2. Click the blue + button to create a new data group.
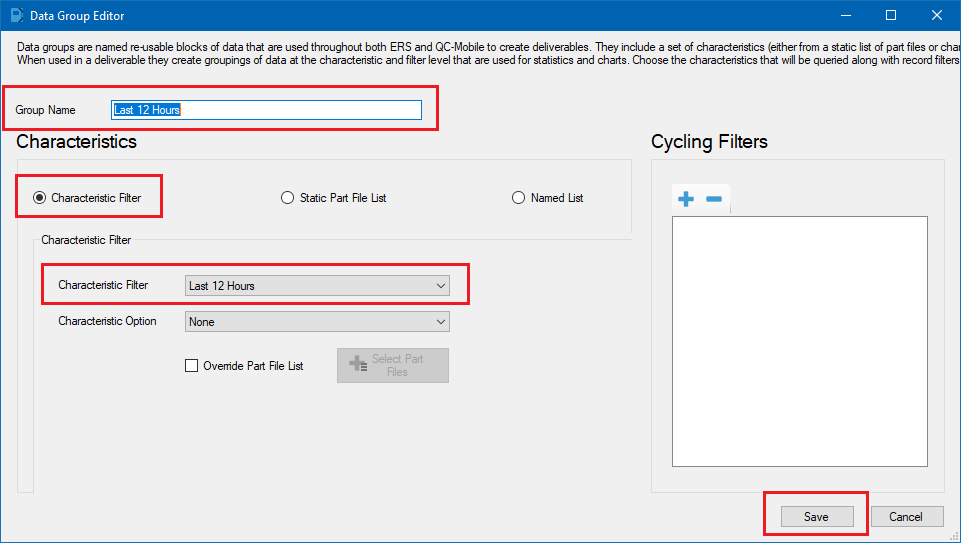
3. Enter the Group Name at the top of the screen (I used “Last 12 Hours”).
4. Choose Characteristic Filter at the top of the screen.
5. Choose “Last 12 Hours” for the Characteristic Filter option.
6. Click Save to create this Data Group.
Creating a Report Job
The final step in the process is to create the Report Job.
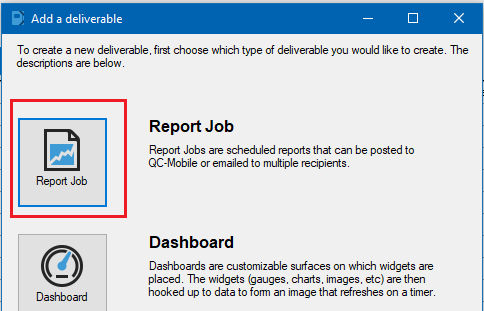
- Go to the Deliverables tab and click the + Add Deliverable button at the top of the screen.
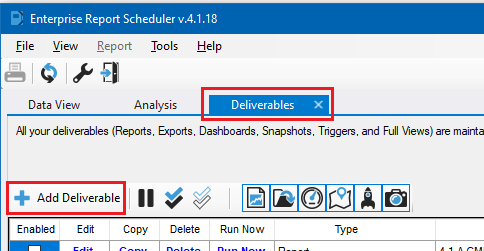
2. On the Add a deliverable screen, click the Report Job button at the top.
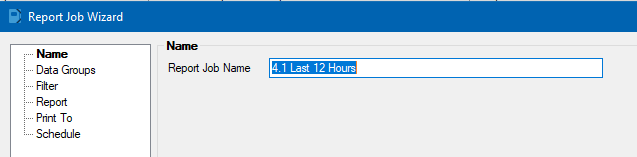
- In the Report Job Wizard enter the name for this report job. I entered “4.1 Last 12 Hours” in the example below. Click the Next >> button.
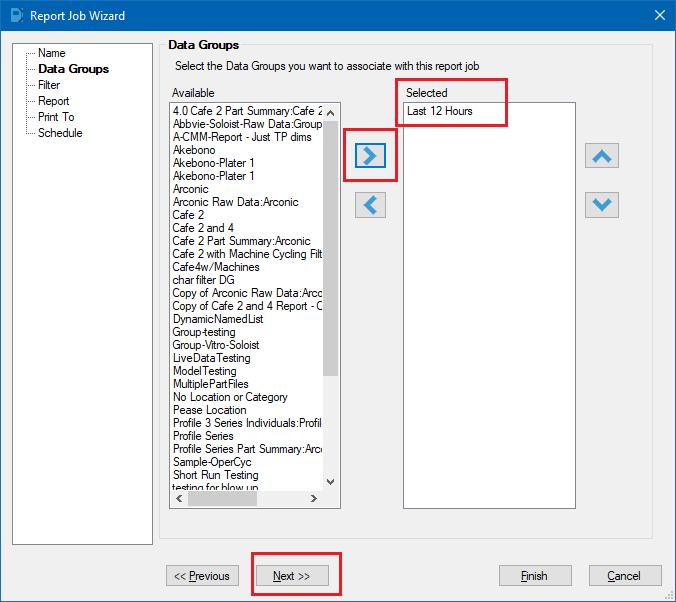
- On the Data Groups step, choose the “Last 12 Hours” Data Group you created previously from the list on the left and use the > button to move it to the Selected list on the right. Click the Next >> button.
- On the Filter step, there is nothing to choose in this case. Click the Next >> button.
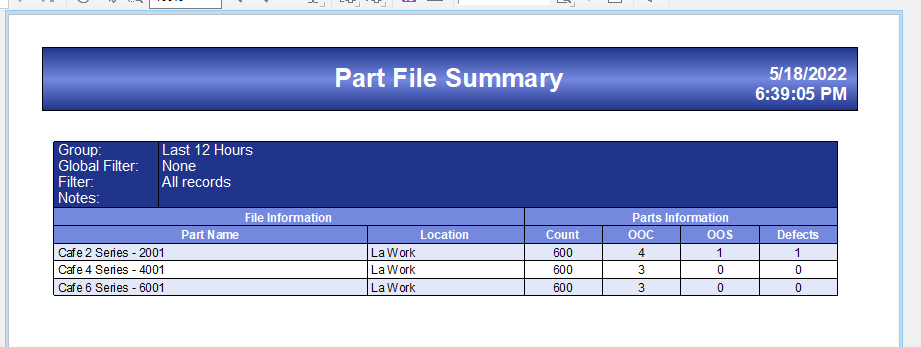
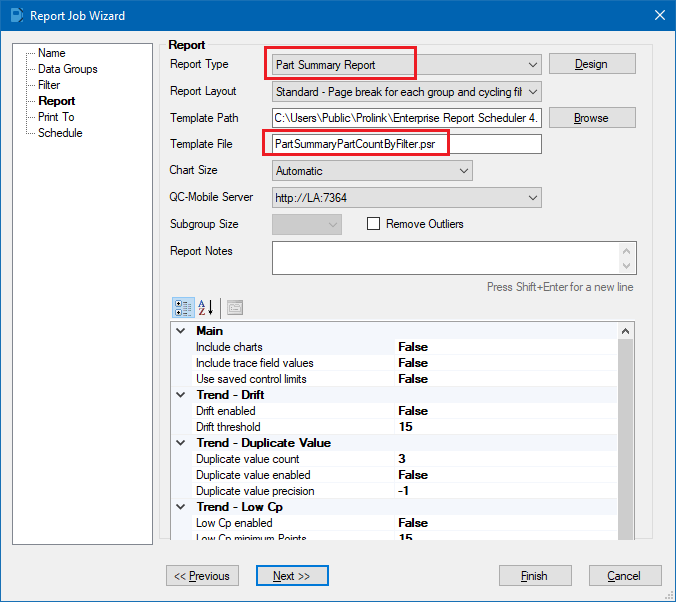
- On the Report screen is where choices need to be made. You need to determine what type of report you want to run in order to get this screen correct. I have chosen to run a Part Summary report that will show a list of part files that had parts run in the last 12 hours and it will also show how many parts each of those part files had. Click the Next >> button.
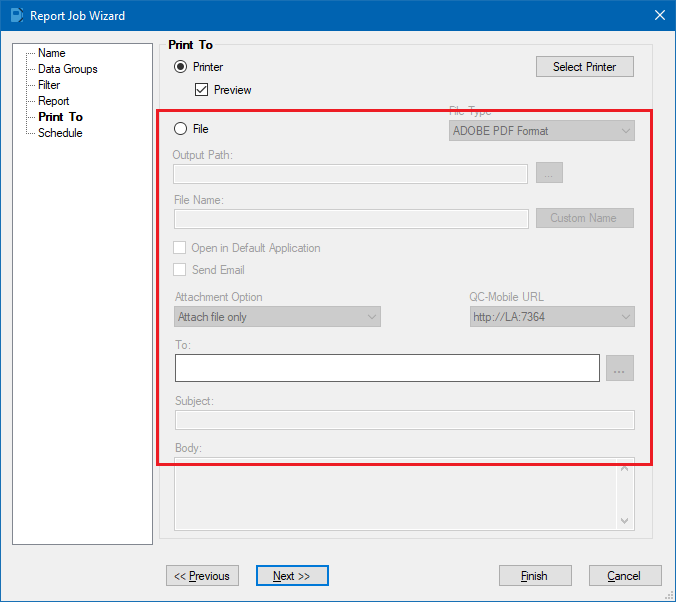
- On the Print To screen you will need to select how/where this report will be printed. In my case I just want it to be previewed on the screen, but I’m guessing you would want it to be sent to a File and possibly emailed. For testing purposes, choose the Printer > Preview options, then when you have determined everything looks correct change this to be your final setup. Click the Next >> button.
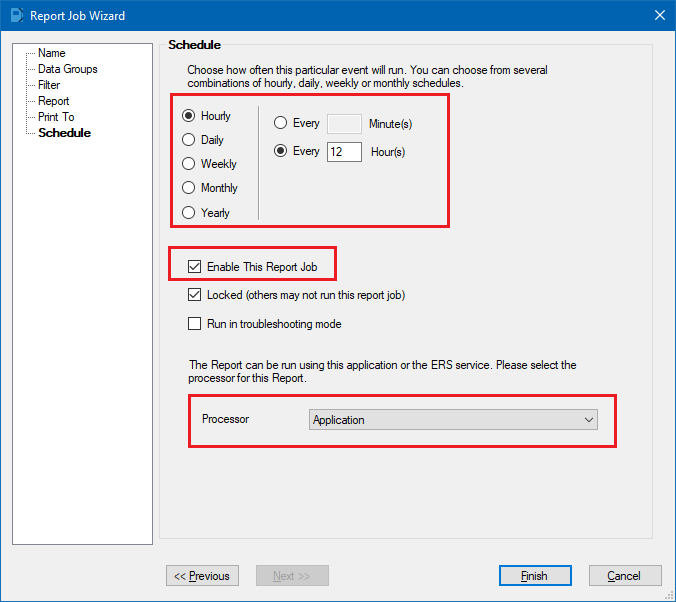
- On the Schedule screen you would choose how often you want this report job to run. You will also need to check the Enable This Report Job which is what will actually make it run every 12 hours and the Processor option at the bottom of the screen will only apply if you are using ERS as a Service somewhere. If this setting is “Application” then ERS MUST stay running in order for the report to trigger.
- Click the Finish button on the bottom of the screen and you will see your Report Job has been added to the list of Deliverables.
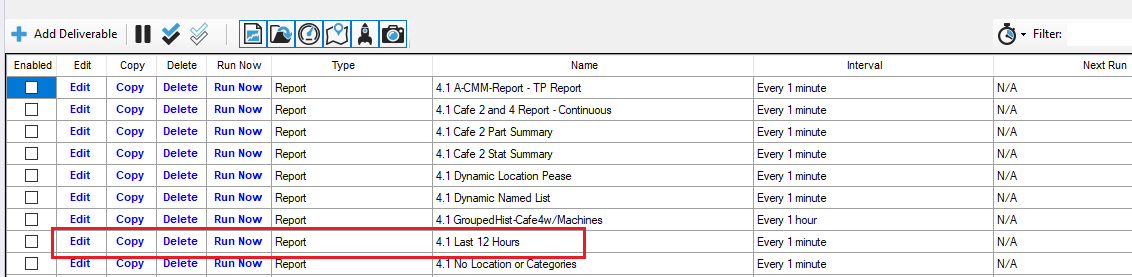
- In the picture above, nothing is enabled but you should see the box on the left checked for yours and the Interval column should show the 12 hours.
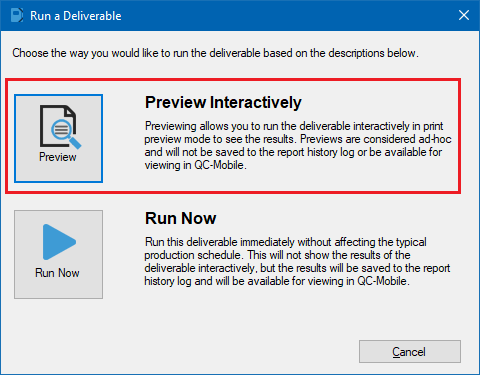
- Click the Run Now link that is circled above to test the Report Job that was just created. You will be asked if you want to preview what would happen or really run your report. While testing I would suggest using the Preview Interactively option.
- If at any time you want to change a setting in the report job, use the Edit link and use the Report Job Wizard again make your changes.
- Here’s what the top of this report looks like (only 3 part files had data in the last 12 hours):