When moving from a previous version of QC-CALC, it is necessary to convert your existing .qcc files to a new database format. This application can also be used to convert part files already stored in a SQL Server database into QCQ files, or to store QCQ files in SQL Server.
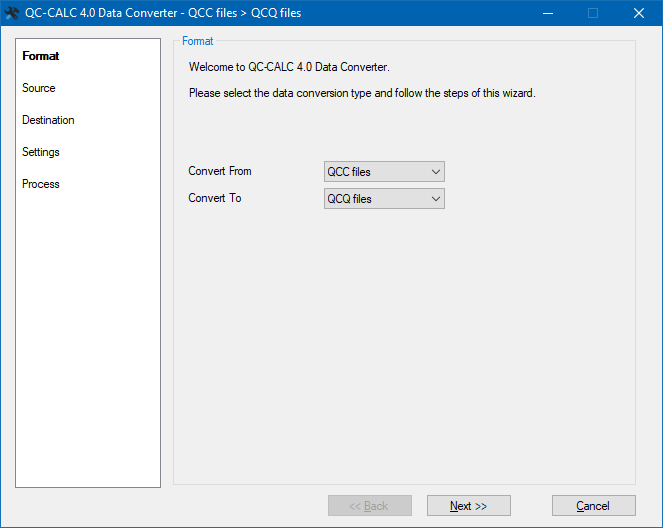
Format
This screen is used to choose the existing data format (QCC files, QCQ files, or SQL Server) and the final format (QCC files are not allowed here).
Source
QCC or QCQ Files
This screen allows you to dynamically, or specifically, choose QCC or QCQ files to convert.
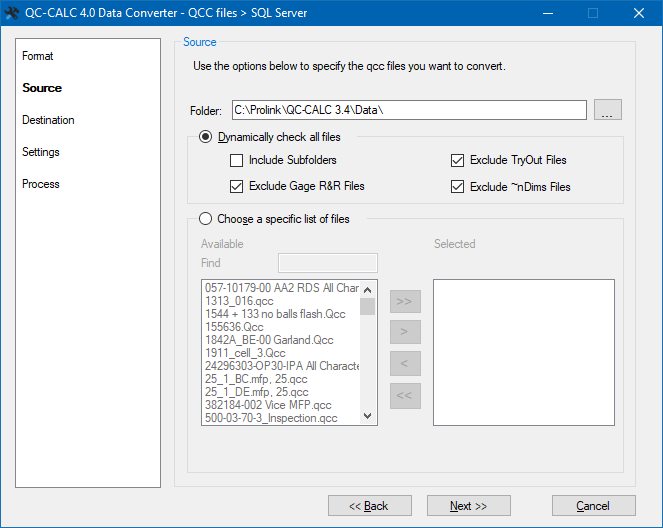
Folder
Choose the location of the files to be converted.
Dynamically check all files
With this option, all files within the Folder specified at the top of the screen that pass the checkable criteria in this area will be converted.
Include Subfolders
When this option is checked, any subfolders will also be checked for QCC/QCQ files.
Exclude TryOut Files
When this option is checked, any QCC/QCQ files with _TryOut at the end of the name will not be converted.
Exclude Gage R&R Files
When this option is checked, any QCC/QCQ files with _GRR at the end of the name will not be converted.
Exclude ~nDims Files
When this option is checked, any QCC/QCQ files with ~nDims (where n is the number of dimensions inside the file) at the end of the name will not be converted.
Choose a specific list of files
With this option, a list of files within the Folder specified at the top of the screen will be shown on the left. Move any files to convert to the list on the right.
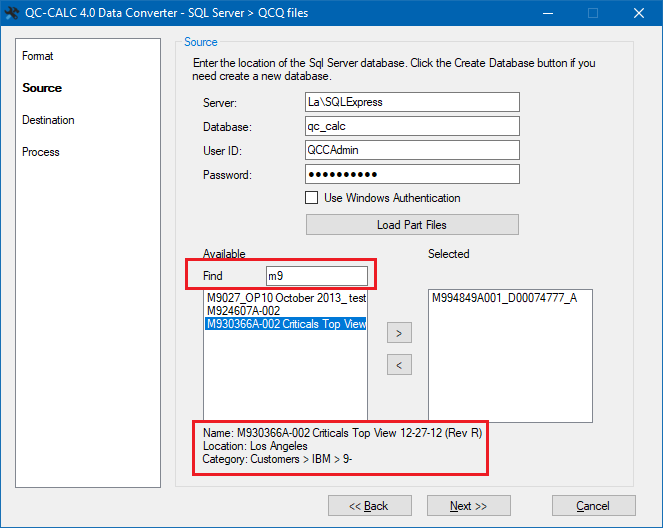
SQL Server Part Files
This screen allows you to select part files from your SQL Server database. Enter your database information and click the Load Part Files button to start. Use the  and
and  buttons to move the part files to convert from the Available column to the Selected column. Use the Find box to filter down to the part files that match. Click on a part file in the Available list and the full file name along with the Location and Category information will be displayed at the bottom.
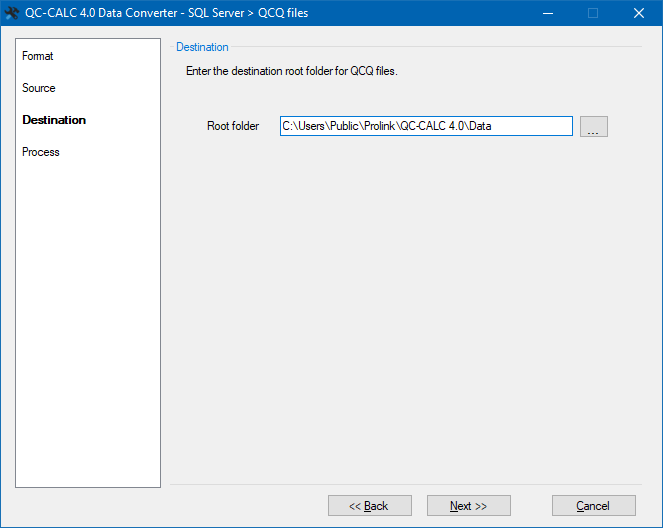
Destination
QCQ Files
This screen allows you to set the Root folder to store the new QCQ files. If your QCC files were stored in subfolders, this folder structure will be duplicated within your specific Root folder.
SQL Server Part Files
This screen lets you select the SQL Server database to store the converted part files. Enter your database information and click the Test Connection button if your database already exists. If it does not, use the Create Database button.

Settings
This screen requires a few settings for the conversion process to occur. It only appears for QCC file conversions.
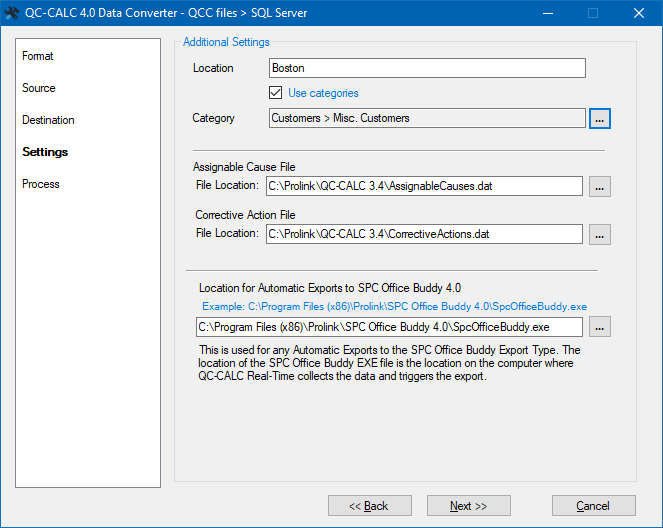
Location
SQL Server Only - The Location is a free-form text field that describes the location/origin of the part files.
Assignable Cause/Corrective Action files
The location of the Cause and Action files is necessary when converting your data from QCC files to 4.1. In QCC files, a number that pointed to a value within the .dat files was stored within the database instead of the text of the Cause/Action being stored. This means the correct .dat file for the QCC files is required to bring the Cause/Action values over in the new database correctly.
Location for Automatic Exports to SPC Office Buddy 4.1
This setting is only necessary if any of your files have been set up to automatically export to an Excel Job within SPC Office Buddy. The location for the corresponding 4.1 SPC Office Buddy needs to be entered in this area.
Process
Click the Start Conversion button to start processing the files. As the files are processed, the Log: area at the top of the screen will update to show you the processing that is happening.
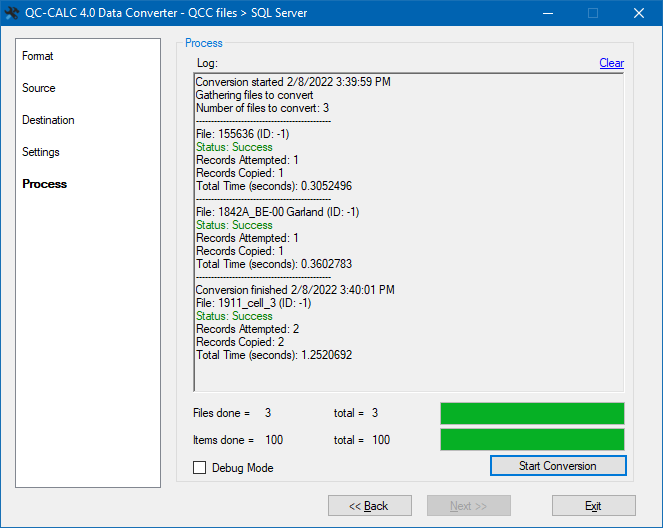
Debug Mode
A Prolink support person may ask you to check this box if you have trouble converting files.