Note: If you are upgrading from a previous version of QC-CALC to versions 4.1 or 4.3 we recommend using the Part File Utility within QC-CALC 4.1 or 4.3 to convert your part files. See this article for more information: https://www.prolinksoftware.com/support_article.aspx?id=524
You may need to convert your QC-CALC part files from one format to another. You can do this using our software, Enterprise Data Loader (EDL). Here are the steps to setup a Load Event in EDL to convert part files from a file-based format (QCC or QCQ) to SQL server storage:
Note: If you need to convert from QCC to QCQ you can follow this guide but some of the screens will look different than the pictures below, particularly the part file selection screens. Be sure to set “Destination Type” to “QCQ Files”, not as pictured below.
- Download and install EDL 4.2: https://www.prolinksoftware.com/download.aspx?product_id=668
- Open EDL by running as Administrator (required to start and stop the EDLLoadService Windows Service)
- Confirm the EDLLoadService Service is running: check Tools > Start Load Service. If this is grayed out, the service is running. If it is not grayed out, select it to start the service.
- In EDL, click the blue Plus button to add a new Event. Next, select Load Event

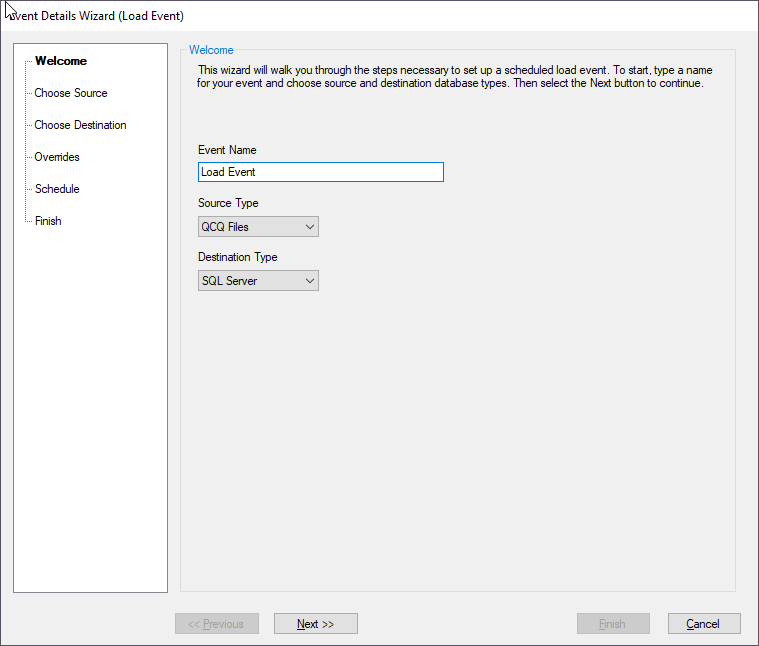
- Give the Load Event a name, set Source Type to whichever data storage format you are converting from (QCQ or QCC), set Destination Type to SQL Server, and select Next >>
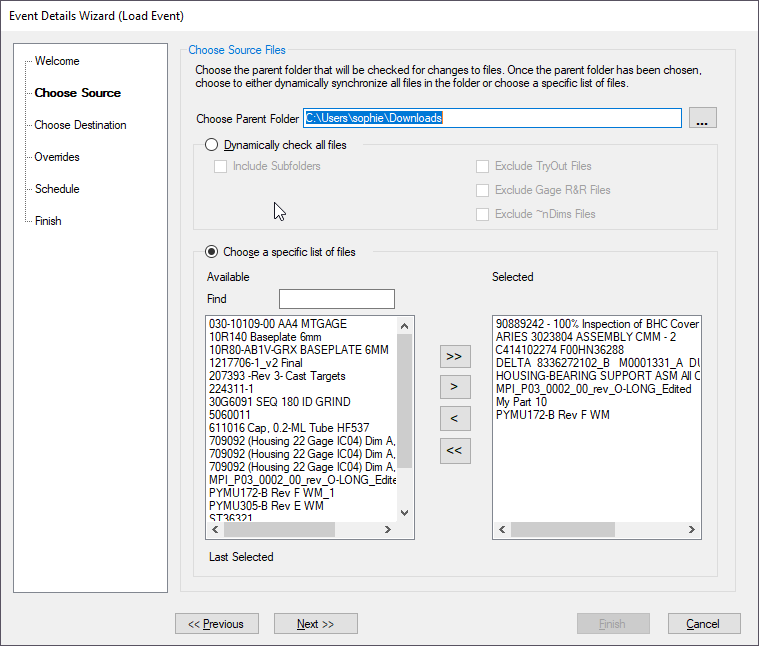
- Choose the part files to convert. You can select specific files or point EDL to a folder. Select Next >>
- Enter the SQL server connection information, select Test Connection to confirm credentials work, and select Next >>

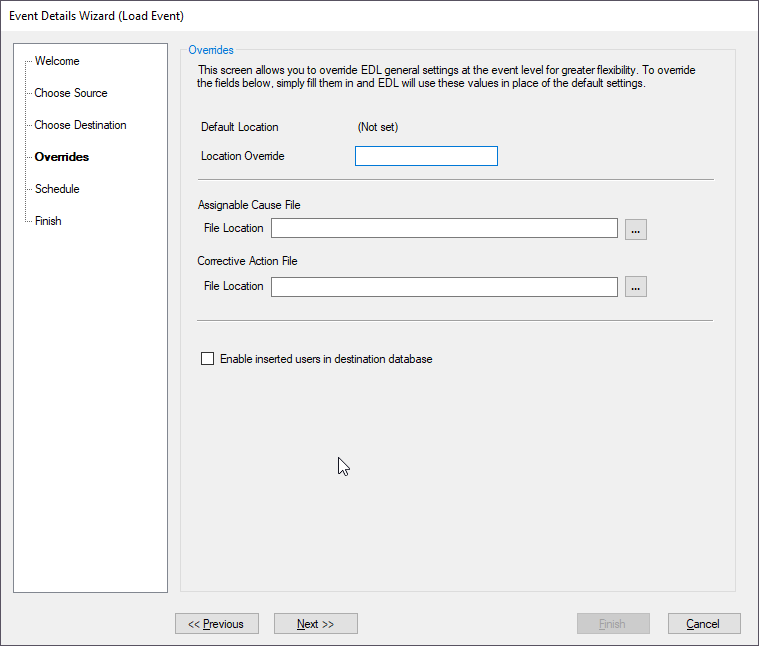
- Point EDL to your Assignable Cause and Corrective Action files if you store those on the network or in some non-default location. Select Next >>
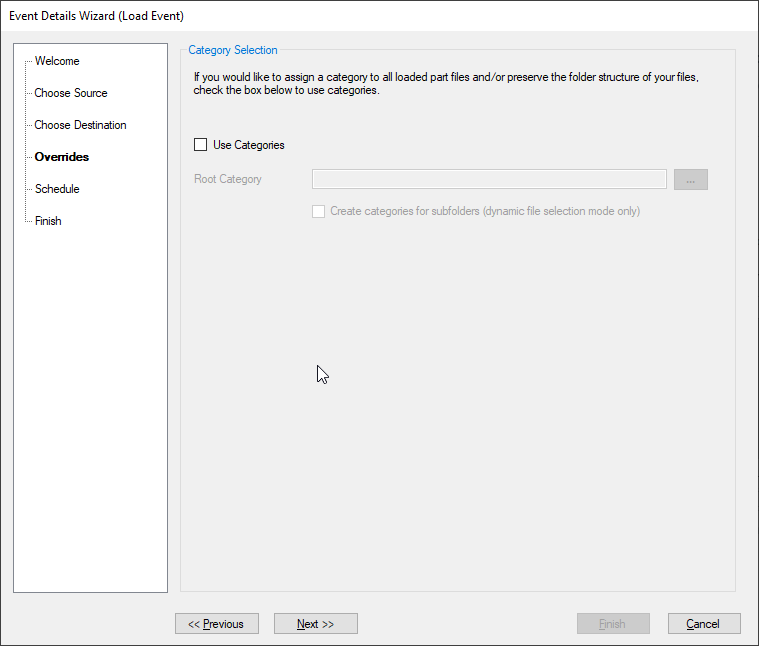
- Optionally, organize the part files into Categories, select Use Categories and then select the “…” button to manage categories. If you are unsure, skip this step. You can configure categories later through QC-CALC Real-Time or ERS. Select Next >>
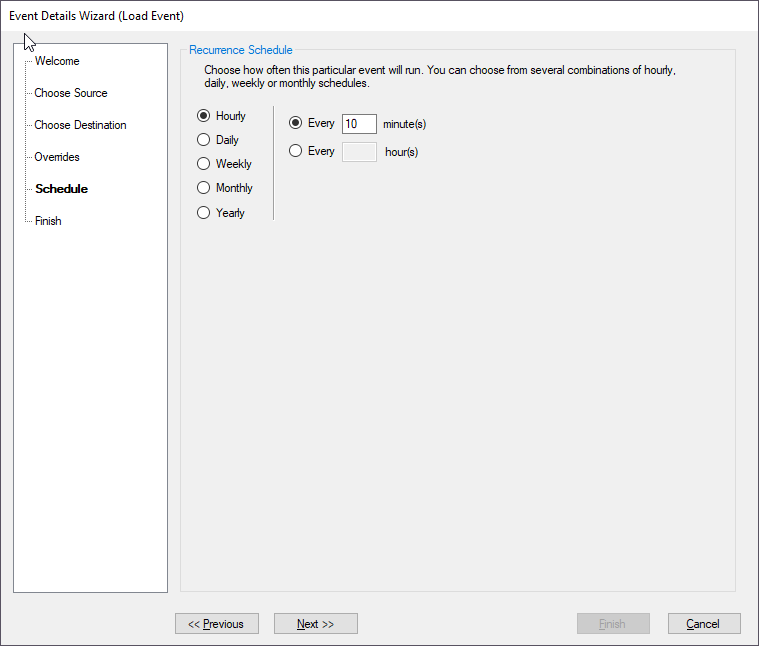
- Schedule how often you want the event to run. Since this is a one-time manually-run Load Event, schedule the event for any day, time, and frequency. Select Next >>
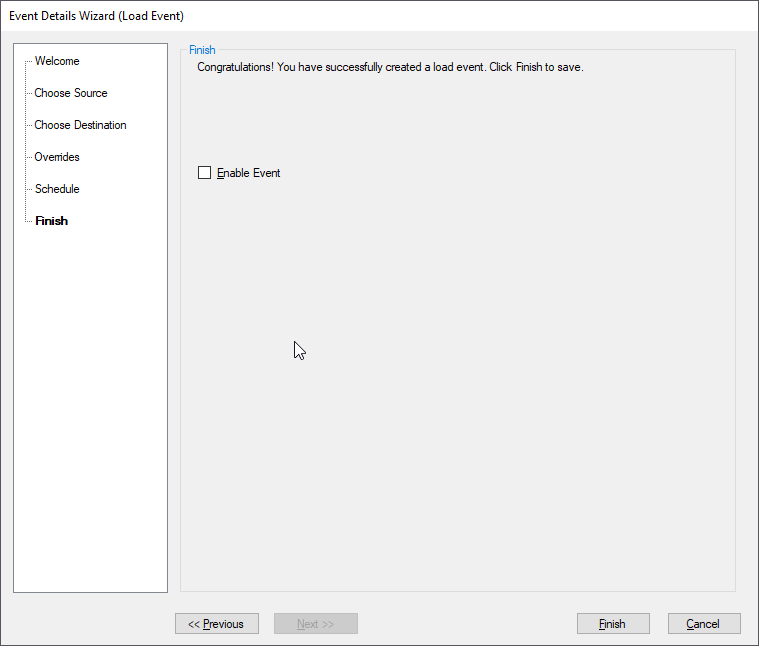
- On the last page, do NOT select Enable Event. Select Finish to save the Load Event
- In the main EDL window, select Check Now under “Permissions” to confirm EDL has the necessary permissions to access the part files
- Select Run Now to run the load event
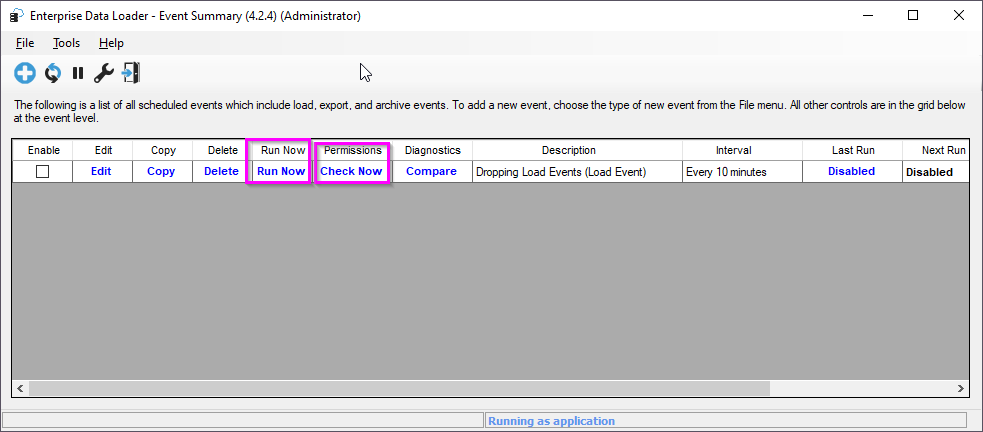
EDL will display its status in the very bottom left of the main window. You will see “Running event: <event title>” when the event is running. When you no longer see a status message for the event, open QC-CALC Real-Time, QC-CALC SPC, SPC Office Buddy or ERS and look for the new part files in the destination source to confirm everything looks good.