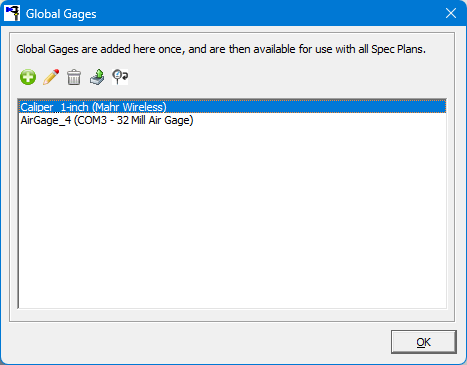
Global Gages allow gage information to be saved to a central location (SQL Server or a global.dat file) and this allows them to become accessible from every machine rather than limited to the specific machine to which the gage was connected.
For example, you can create a Global Gage called “1 Inch Caliper” and connect that caliper to characteristics within 3 spec plans. When one of those spec plans is used from another copy of QC-Gage that machine would have it’s own copy of a “1 Inch Caliper” setup which would be used by that spec plan. This allows for spec plans to use a more generic gage and have that mapped to a specific gage within each QC-Gage installation.
Add a New Global Gage to QC-Gage
- Go to Tools > Global Gages.
- Click the Green Plus button
 to add a new Global Gage.
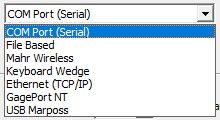
- Select an Input Type, for example, "Serial (COM Port)"
- Enter a Friendly Name. This will identify the gage in the global gage list).

- Enter the settings for the particular Interface Type shown, as in the example picture below:
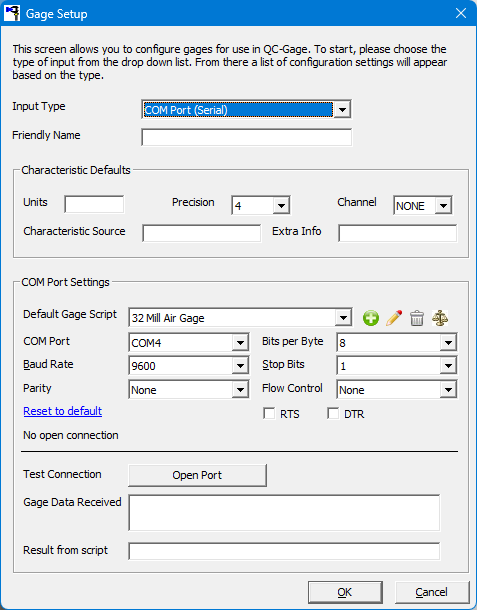
- Select the Test Connection button to test the connection to your gage
- The Gage Data Received box will confirm if the gage responded
How to Import an Existing Global Gage
- Go to Tools > Global Gages.
- Select the Import Gobal Gages button
 .
. - If there are gages for you to import, they will appear in the window that opens.
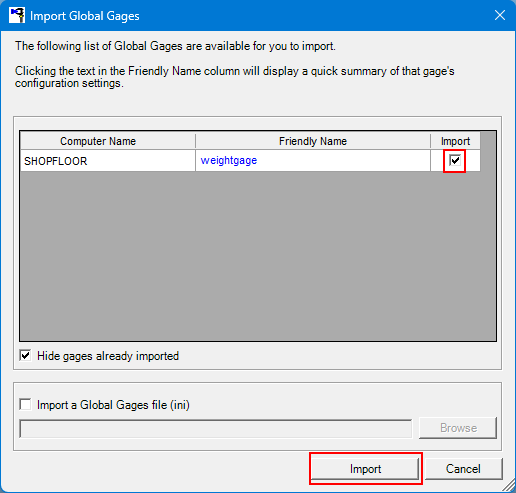
- Put a check in the Import box to the right of the gages you wish to import.
- Click the Import Button to import the selected global gages.
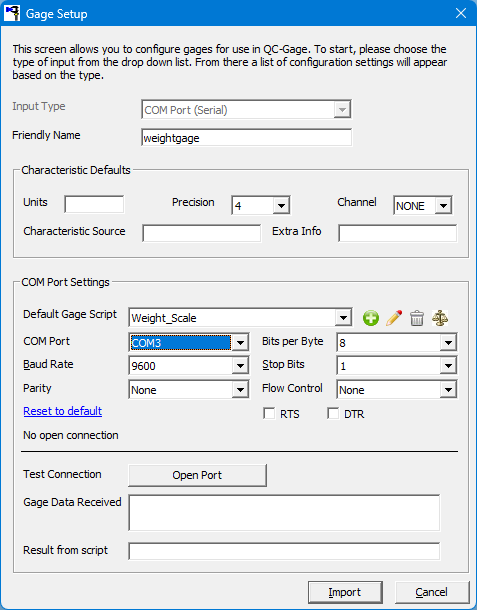
- A Gage Setup window will open. You can set the COM Port number or other settings on your local copy of the global gage, without altering the other copies of the gage being used elsewhere.
How to Replace a Global Gage
When a gage is being switched out to be calibrated, you can choose to replace the global gage.
- To replace a global gage, go to Tools > Global Gages and then select the Replace a Global Gage button
 .
. - The Gage to Replace area will show the friendly name of the gage that is being replaced. The input type is also shown in the parathesis. If the replacement gage has not been used by your computer in the past, a new gage will need to be set up.
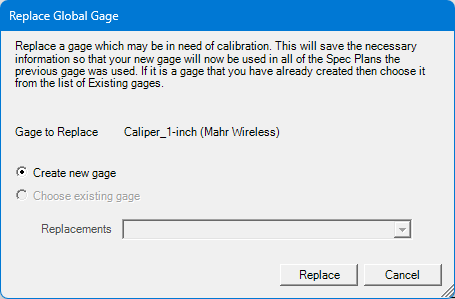
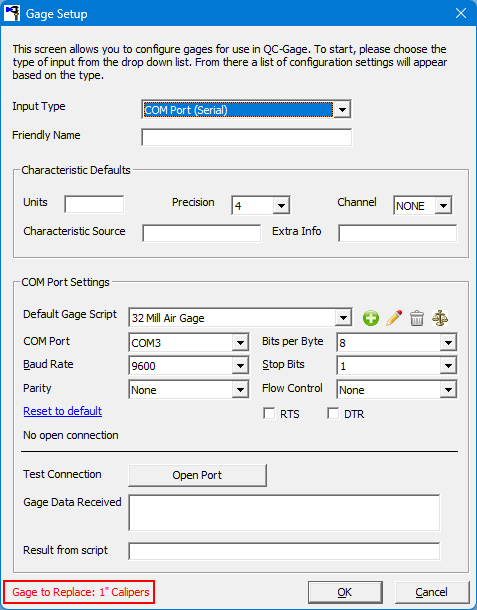
- After selecting Create a New Gage and then Replace, the Gage Setup screen will be displayed to input the new gage information.
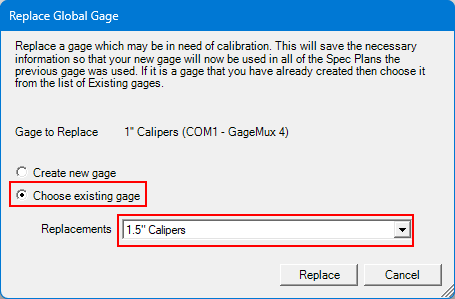
- If the replacement gage has already been used in the past on your computer, you can select the gage from the Replacements box. This will fill in the information for that gage and switch the current active gage with the one selected.
