Many users experience problems with mapped network drives. The mapped drives do not reconnect correctly after a reboot even when the Reconnect at logon option was set during the mapping of the drive.
One solution is to use the Windows Explorer and browse to the mapped drive. Doing this every time you restart your computer might become annoying, but another solution to this problem is to automatically remap the drives when the computer reboots by using a batch file. This White Paper provides the steps needed for creating this batch file to disconnect and reconnect the mapped drive and for running this batch file from Windows Task Scheduler.
Steps for Creating the Batch File
This example is based on the following variables:
- The mapped drive letter is “F”
- The UNC path to map to is “\\MyServer\DataStorage”
- The user name is “Joe”
- The password is “secret1”
NOTE: These steps entail storing your password as plain text in the batch file.
You can omit the user name and password if you do not require those for establishing the connection. Please refer to the “NET USE” link at the bottom of this article if your mapped network configuration is more complex than this example.
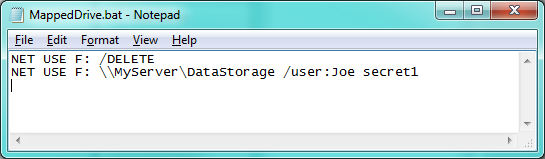
- Create a new file using Notepad.
- Type:
NET USE F: /DELETE
NET USE F: \\MyServer\DataStorage /user:Joe secret1
- Save the file as “MappedDrive.bat”.
Steps for Running the Batch File on Restart
- Open Start > Control Panel > Administrative Tools > Task Scheduler
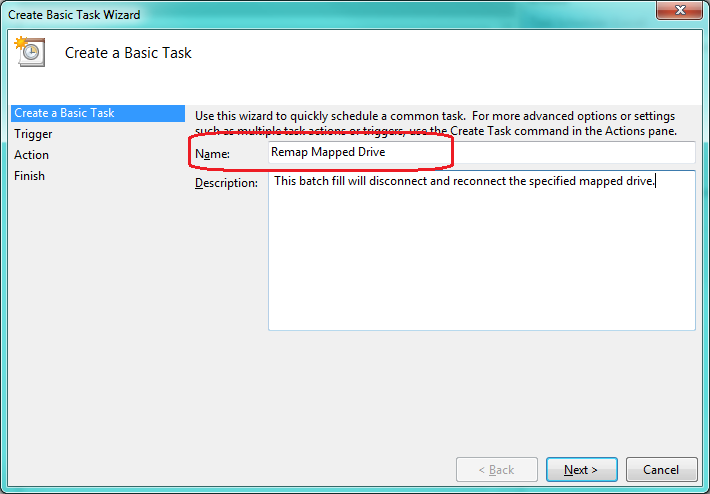
- Click on Create Basic Task

- Fill in Name field and click Next >.
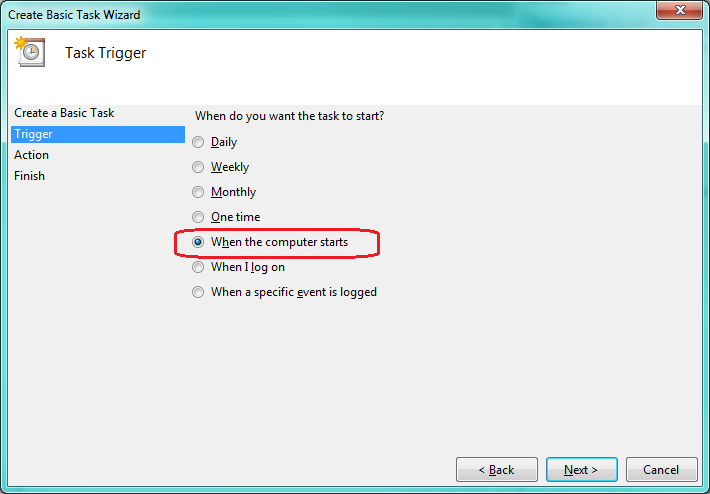
- Select When the computer starts on the Trigger screen and click Next >.
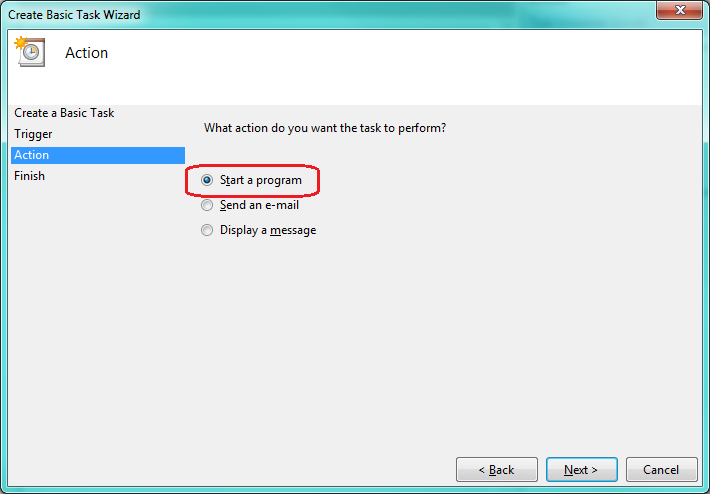
- Select Start a program on the Action screen followed by the Next > button.
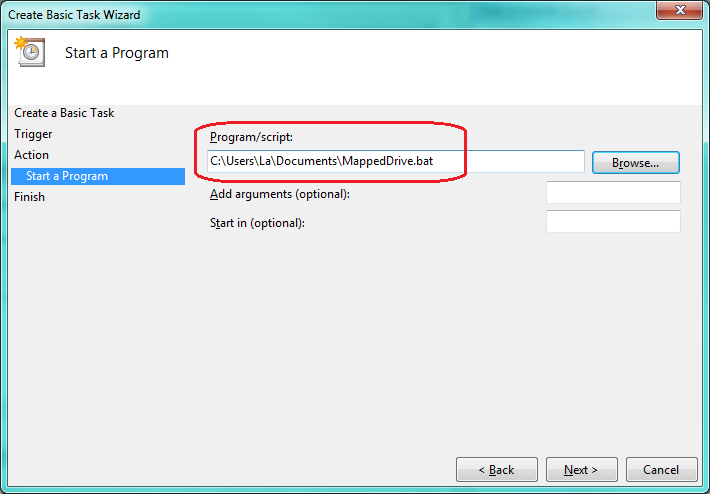
- Use the Browse button to choose the batch file you created in Notepad for the Program/script box on the Start a Program screen then click Next >.
- Click the Finish button and you’ve created your task.
For more information about creating a task please refer to “Schedule a Task” link below.
RELATED LINKS
Mapped Drive Connection to Network Share May Be Lost:
http://support.microsoft.com/kb/297684
Schedule a Task:
http://windows.microsoft.com/en-US/windows/schedule-task#1TC=windows-7
NET USE:
http://www.microsoft.com/resources/documentation/windows/xp/all/proddocs/en-us/net_use.mspx?mfr=true