Introduction
The Office Buddy allows you to create plenty of flexible reports, but sometimes you just need to append. Due to variations in customer requirements, there is not an auto append feature built into SPC Office Buddy at this time. However, it is fairly easy to do by building a macro and then calling it before the Excel sheet is populated. The following are the steps to create this macro.
Steps
- In your Excel spreadsheet, choose the View tab on the ribbon and choose Macros.
- Type the name of your new macros (i.e. AddTagsInFirstBlankRow) and click Create.
- The code window will open and you will see "Sub" and "End Sub" commands. Copy and paste the following lines (only the green ones) between these commands.
Sub AddTagsInFirstBlankRow()
Dim lRow As Long
Dim lCol As Long
'we'll start searching from row 1.
'if it should start from a different spot, specify the start row here.
lRow = 1
'STEP 1: specify the column you want to search for blanks
'by default, it is the 1st column or "A"
lCol = 1
'find the first blank row by incrementing the row until the value is blank.
While Cells(lRow, lCol).Value <> ""
lRow = lRow + 1
Wend
'STEP 2: now add whatever tags you want.
'some samples have been added below
Cells(lRow, 1).Value = "[part name]"
Cells(lRow, 2).Value = "[labels]"
Cells(lRow, 10).Value = "[/labels]"
End Sub
- Where it says "'STEP 1:" followed by "lCol = 1", replace with the "1" with the value of the column number where you would like to search for blanks. By default, it will look in the first column or column "A".
- At the bottom where it says, "'STEP 2:", specify the tags you wish to place in the appended row. Notice that in the "Cells(lRow, 1)" line, there are two numbers in the parenthesis that specify the cell where the tag will be placed. The first number is the row and "lRow" is already in the expression specifying that the row should be the next row that is found to be blank. The second number specifies the column of the cell where that tag will be placed. The example statements use columns 1, 2, and 10 to place tags in those cells, but any valid column can be specified as well as any tag that is specific to the report to run. In addition, more statements can be added by copying/pasting the statements and replacing the tag and column values.
- Be sure to save the Excel template.
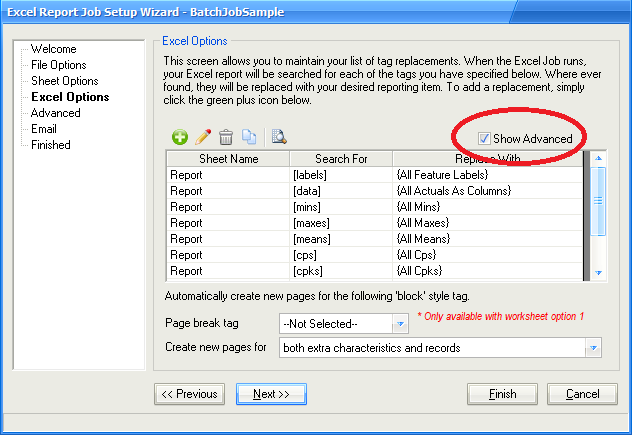
- In the SPC Office Buddy Excel Job wizard, make sure to check the Show Advanced box on the Excel Options screen, then click Next >>.
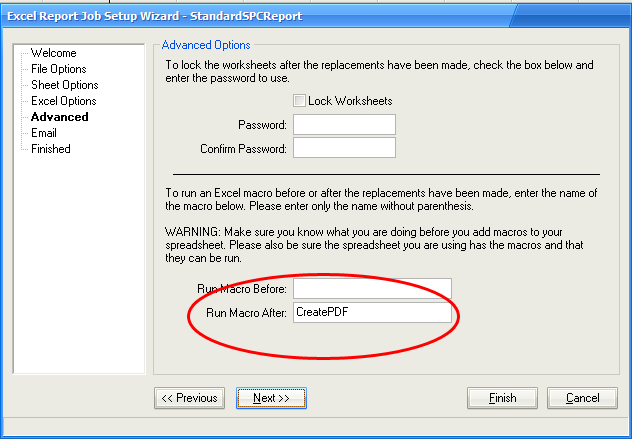
- On the Advanced screen, type the name of the macro to run in the Run Macro Before field and click the Finish button to save the Excel Job.
- Upon running the job, Buddy should open the Excel sheet, run the macro (which will add the tags), and then replace those very same tags with the new data; thus achieving an append.